


Welcome to your career in real estate!
As you’ve seen by now, there’s a whole lot more to being a real estate agent than selling real estate. You’re a solopreneur, wearing all the hats, right? Launching a real estate website is one more thing modern real estate agents need to figure out for themselves.
Why You NEED your own website
Most new agents think they can get by for the first couple years with just a webpage on their broker’s website. Some agents think their agent profile on Realtor.com will do the trick.
And it seems logical: you’re not making a ton of money yet, so you’re waiting until you have a steady income before investing in a website. No one can fault you for thinking that way. But today’s savvy new agents know they need their own website from the very beginning.
Here are just a few of the reasons why:
You need to be found online.
If someone Googles you by name, your broker’s site or Realtor.com profile will show up. But buyers and sellers don’t know your name yet. If I do a Google search for real estate agents in your city, will you show up in the results? Without a website of your own, you don’t have a chance!
You need to build your own brand.
Don’t just be another agent out there promoting your broker. Promoting yourself instead. Having your own website gives you that independence.
You need to demonstrate your authority and build trust with your buyers and sellers.
Especially as a new agent, when you don’t have testimonials and referrals to rely on, you need to show your local buyers and sellers that you know your stuff. Your website is the perfect vehicle to do that!
You need to build your mailing list.
Again, you don’t have an existing network of previous buyers and sellers to pull new business from. But your website can be a genius lead-builder if you use it wisely!
You need to own your content.
If you’re posting to your broker’s site, the content belongs to your broker. You can’t take that content with you if you move on later in your career.
You can create additional income streams for your business if you have your own website.
Sell products (like ebooks), offer additional services (like property tax appeals or new home photo shoots), and even earn money from your blog posts!
Don’t wait until you think your business is successful enough to launch a real estate website. Launch a real estate website now to make your business successful!

Your Options For Launching a Real Estate Website
Ok, so how exactly do you do that? How do you launch a real estate website as a new agent? Here are 4 options for you to consider:
1. Hire a Professional Website Designer for a Custom Real Estate Website
Yes, you can spend a small fortune and hire a professional designer to create a custom real estate website for you. If you have the money sitting around, it’s not a bad idea. But if we’re being honest, new agents have lots of start-up expenses and zero income until that first sale. So let’s look at your other options.
2. Use a Real Estate Website Service
Using a real estate website service (like Easy Agent Pro, Intagent, or Agent Image) is probably a better solution for most new agents. With these services, you can launch a real estate website for a more reasonable price than a custom build. These sites are generally built from templates, but will include your unique branding like images, colors, and fonts, to make the site your own. They are quick-n-easy, which is reflected in the price.
Many of these sites charge a monthly fee instead of an upfront fee. This can be helpful to new agents who are watching their cash flow. Of course this ultimately means you’ll be paying far more than necessary over the life of your site. Easy Agent Pro’s packages start at $159/month. It’s not a bad deal (especially when they include extras like a text number and social media posts), but at nearly $2,000/year, it’s still a substantial investment.
Word of warning: if you use a service, you may just be renting your site, not owning it. This is an important distinction, so make sure you understand the difference.
3. Hire an Unknown to Build Your Real Estate Website
What if you don’t want to pay $2,000 every year? What if you just want to pay a one-time fee of about $500-1,000, and be done with it?
You can take a chance on hiring an independent consultant to build your site for you.
There are lots of freelancers out there who know their way around building websites and would be happy to launch your real estate website for you. It’s just a matter of finding one you trust.
You can check sites like Fiverr and Upwork to find freelancers who build websites. Just understand that these freelancers probably don’t know anything about real estate. Make sure they understand upfront that you’ll need things like property pages and mapping functionality.
4. DIY Your Real Estate Website
Most agents don’t think they’re capable of launching their own real estate website. But I’m telling you, you are!
The great thing about living in an age where everyone has their own website is that anyone can build their own website. There are tools to make the world of website design available to anyone willing to invest some time and energy in the process.
In fact, that’s what I’m devoting the rest of this post to. If you’re a new real estate agent, and you want to launch a real estate website without spending a fortune, I’ll tell you how to do it!

The New Agent’s Guide to Building Your Own Real Estate Website
Have you made the decision to build your own real estate website? Awesome! Your business is going to benefit from this decision for years to come (and you’re going to earn some serious bragging rights!).
You should know upfront that this process takes some time to navigate through. There are just so many options at each step. If you’re short on time, consider our free guide, How to Build a Real Estate Website. It will walk you through every step of the process at lightning speed. In as little as an hour (but more like 2-3 realistically), you could be launching a real estate website of your own!
Whether you use our free quick-start guide, or you’re working at your own pace, the steps are the same. Let’s go through them together:
Step #1: Register Your Domain Name and Set Up Your Web Hosting
Your domain name is basically just your website address. Your name is probably the best way to brand yourself, but your domain name must be unique. So if MaggieSmith.com is already taken, try something like MaggieSmithRealEstate.com or HomesByMaggieSmith.com. And yes, it needs to be a “.com”; this legitimizes your business in a way that .biz and .info just can’t.
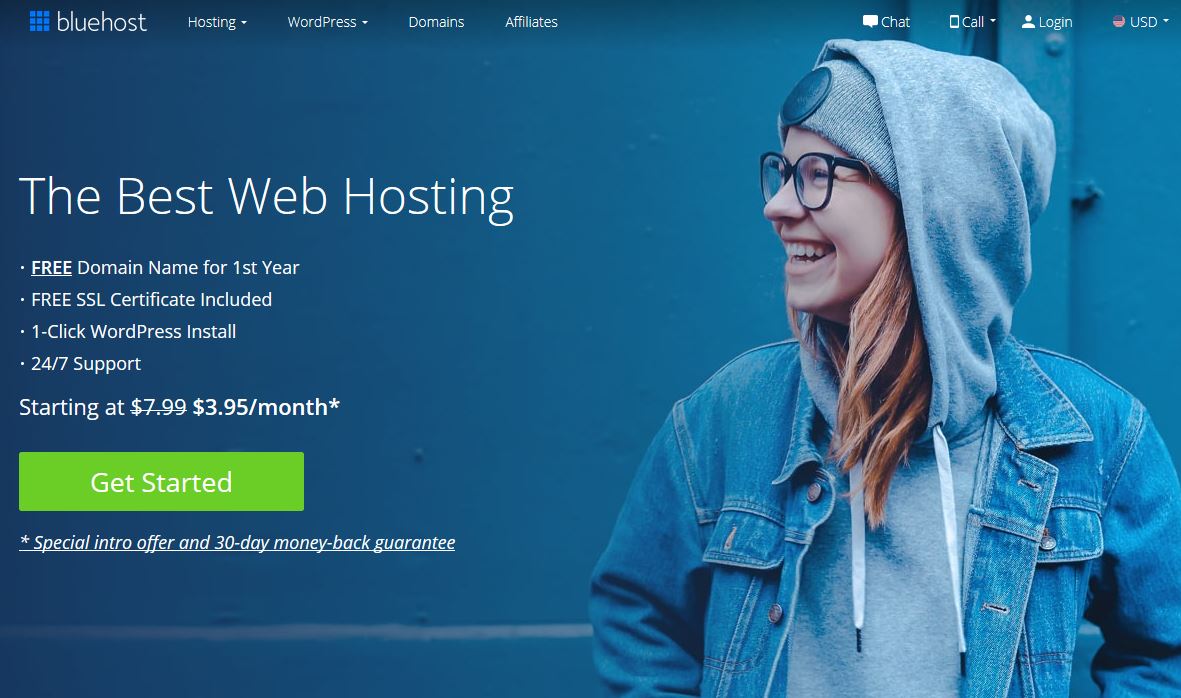
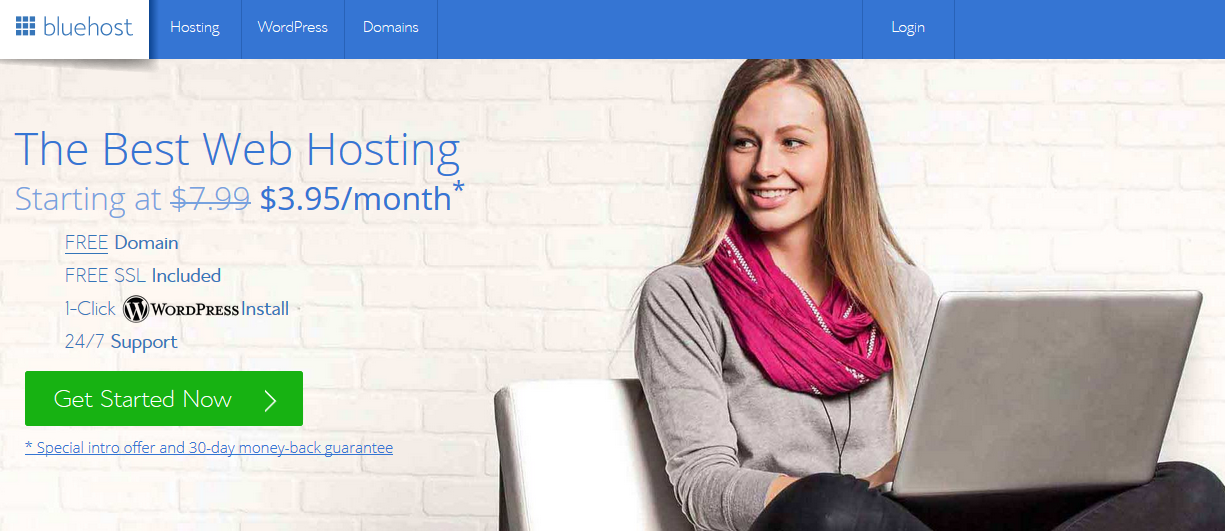
There are a million ways to register your domain name. But I like to use Bluehost.com because they give you a year free when you use them for your web hosting (and I always use them for my web hosting because they’re reliable, affordable, and have great customer service in case you ever have tech trouble!). You can just go to Bluehost.com, click “get started now”, and enter your chosen domain name to see if it’s available.

Bluehost will walk you through the process of registering your domain name and setting up your web hosting from there!
Make sure you take advantage of the one-click WordPress integration when prompted. WordPress is the (free!) content management tool that will save all the pages and posts you publish on your site.
Step #2: Install Your Design Theme
At this point, your site is active and online! But it’s just showing a “coming soon” page. Now’s the time to create something beautiful for your site to display. And that means choosing a design theme.
The design theme is like your site’s blueprint. It details where everything on your site will go and how it will all be structured.
There are tons of free design themes available. But beware, those free themes lack some of the functionality you’ll need as a real estate professional. And they can even slow down your website load times, which means a lower Google rank, and frustrated website visitors. Instead of going with a free theme, you should strongly consider investing in an industry-specific design theme. A theme that can handle real estate specific features like property pages, mapping, and IDX property search integration (if you choose to offer property searches).
My pick is WP Residence. It’s a stunning theme with functionality to actually boost your business! You can read all about my many reasons for loving WP Residence in this post. And it’s affordable! Right now, you can purchase a lifetime license to use the theme for just $59. This one-time cost also covers all future upgrades to the design theme. If WP Residence gets an upgrade, you’ll be notified to download the upgrade so your theme will always be current.
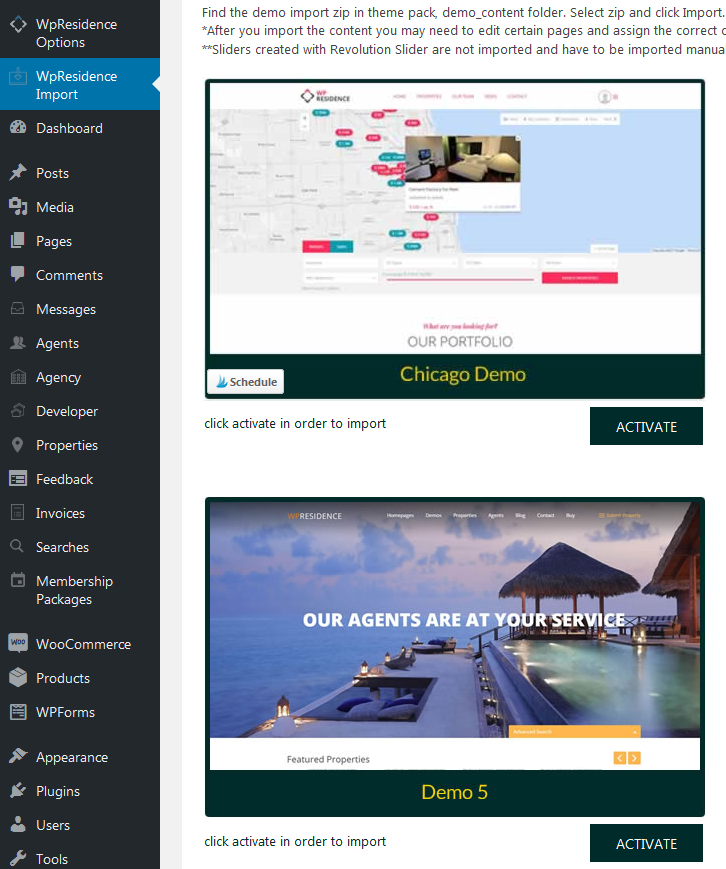
Now, whenever you buy a design theme, the developer wants you to pay them to install it on your site. But you can do it yourself as long as you know the insider trick. So let me give it to you!
When you purchase your theme, you should have the option to download the “Installable WordPress file only”. This will let you download a single zip file that you can then upload to WordPress (“wpresidence.zip” is the file name if you use the WP Residence theme I recommend). So that’s exactly what you want to do.
If you download all files and documentation by mistake, you can just unzip the file you downloaded and upload only the installable theme file (most developers label their files well so you should be able to find it; again, if you’re using the WP Residence theme, the file name is “wpresidence.zip”).
That’s it! You now have a modern design theme for your real estate website!
Step #3: Install Your Plugins
Plugins are little pieces of code that increase your site’s functionality. There are plug-ins for everything!
For example, I recommend the YOAST SEO plugin for every single site. It automatically indexes your site for Google, makes it easier for people to find your site online, and helps you tweak your pages and posts for search engine optimization (SEO).
And I love the Social Warfare plugin. It’s the best free plugin I’ve found to make your content easy to share on social media sites.
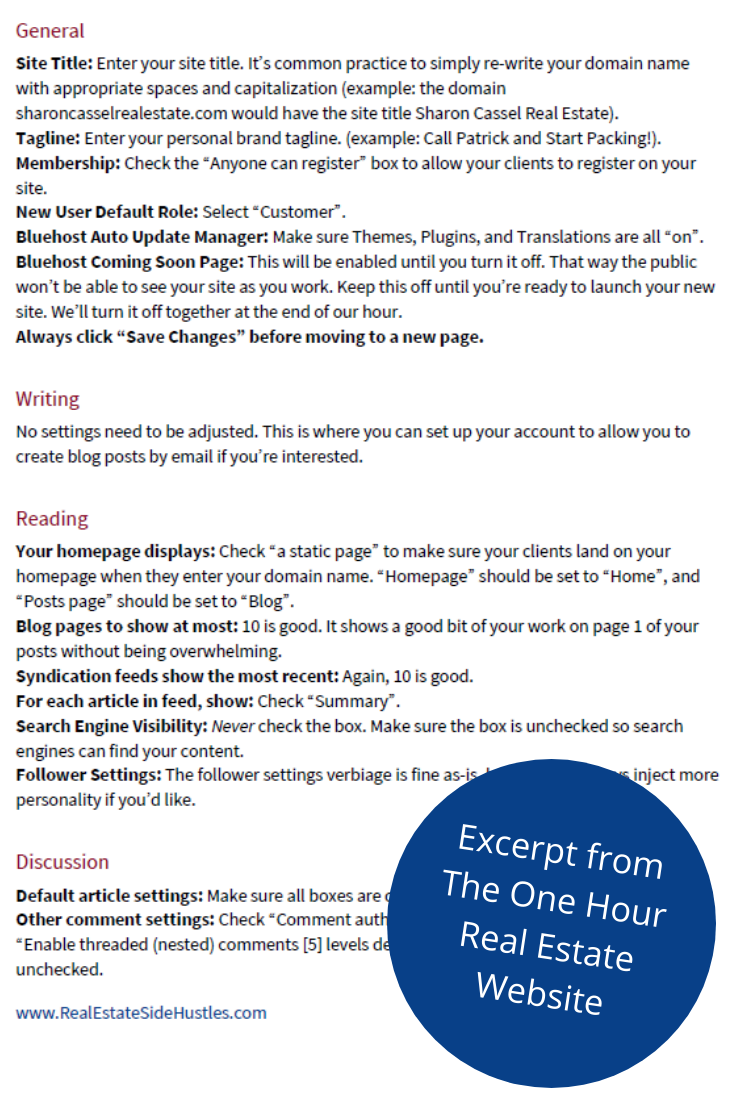
Step #4: Adjust Your Settings
Settings are incredibly complex because everything has its own settings. You’ll have separate settings for WordPress, your Design Theme, and each one of your plugins.
The good news is that many of the default settings work just fine. It’s just a matter of spending the time going through all the settings to make sure each setting works for your site.
Step #5: Add/Edit/Delete Your Pages
The most difficult technical work is done, and you can focus on creating the content you want your site to display.
Most themes come with a “Sample” page that you’ll want to delete before launching. You’ll also want to edit the “Contact” page to reflect your personal contact info.
And you should add an “About” page to introduce yourself to your new audience. You may also want to add pages about each of the neighborhoods in your market, a blog page, and properties pages.
Step #6: Launch!
With that, you can remove your “under construction” page and officially launch your real estate website!
Post-launch, you’ll want to continue adding new content on a regular basis. Regular new content shows Google that you’re active on your site, which boosts your Google ranking. That’s why blogging is a must for everyone with a site. We’re all competing to be on the first page of Google search results. And to have a chance, you need to show Google that your site is relevant by consistently publishing new content.
If you’re new to the idea of blogging, I have tons of free resources for you! Check out the section on Blogging and Other Online Income to get a blueprint for your first ever blog post, lists of blog post topics that generate leads, and ideas for creating a killer real estate blog when you suck at writing.
You might also want to add videos introducing yourself and video overviews of each neighborhood. You can add buyer and seller guides. And you’ll definitely want to add testimonials from happy clients as you close deals. There’s just so much you can do once you launch a real estate website of your own!
Free Gift to Help You With Your Real Estate Website
I created a Real Estate Website Checklist to help agents make sure their site has everything they need to be successful.
Enter your email below, and you’ll get a copy of this checklist delivered to your inbox in just minutes!
What are You Waiting For?
The sooner your real estate website is online, the sooner you’ll start seeing the benefits.
Just like in real estate where the best time to buy is always five years ago, the best time to launch your website is always two years ago. Two years from now, will you be reaping the benefits of an established website? Or will you be wondering what could have been if you had launched a real estate website?
Don’t wait! Commit to your future today.


Howdy! I simply would like to give you a huge thumbs up for the excellent information you have got here on this post. I’ll be returning to your blog for more soon.
Having read this I thought it was very informative. I appreciate you spending some time and energy to put this short article together. I once again find myself personally spending a lot of time both reading and posting comments. But so what, it was still worth it!